I’ve always believed that the field of data science needs to learn from software engineering and adopt some of their best practices (check out why I hate coding notebooks). At my current company, one thing I noticed was how disorganised and varied our development setups are.
For example, we might have Windows users, MacOS users, and Linux users all working on the same project on their local machines and configuring everything based on their operating system. This alone is a huge nightmare. Code might work on one operating system/architecture but not on others, dependencies might be different, Windows users might use \ for filepaths, deployments can fail, and so on.
Now, I don’t mind people using the tools that they’re used to, but sometimes these minor setbacks add up and cause massive inefficiencies. Due to this, I’ve decided to write this blog post about implementing reproducible and shareable development environments using Nix (check out my introduction to Nix if you’re not familiar with Nix). By using Nix, you can reduce the hassle of cross-machine development exponentially.
If you’re a normal person (I consider those who don’t want to write or look at Nix code to be normal), then you can still get the benefits of having reproducible environments using Devbox. I write about it later in this post so skip to that section if you want.
NOTE
Using Nix on Windows means that WSL2 will need to be used and so those who develop on Windows will have the hardest time transitioning. That being said, I believe that all data scientists need to be somewhat familiar with Linux and using a shell, so they might as well start learning it now.
TIP
All code can be found in the zenoix/zenoix-blog-resources repo.
Table of contents
- What Is a Shell
- The Advantages of Using Nix for Dev Environments
- Real World Example Of Using Nix For Dev Environments
- Basic Nix Dev Shell
- Easier Dev Environments with Devbox and Direnv
- Time to Wrap Up!
What Is a Shell
We first need to explain what a shell is. I’m not talking about the kinds of shells you find at the beach, but the kind you use on a computer. A shell is a program you use to communicate with and perform actions on your operating system. Examples of a shell include: bash, zsh, fish, nushell, and more.
A command line shell specifically, is a program that allows the user to interact with the operating system by typing commands. The shell will interpret your commands and then interact with the system if that command is valid. Typically, a command line shell is much more powerful and efficient in allowing you to achieve what you need to do when compared to a graphical interface.
Simple Example
Here’s a simple example of what you can do with a command line shell. Let’s say you want to install and use bat to print out a file with pretty syntax highlighting.
To interact with a command line shell, you would typically use a terminal emulator. A terminal emulator is a graphical program that you can use to interact with the shell. In my case, I will be using running zsh in the Ghostty terminal.

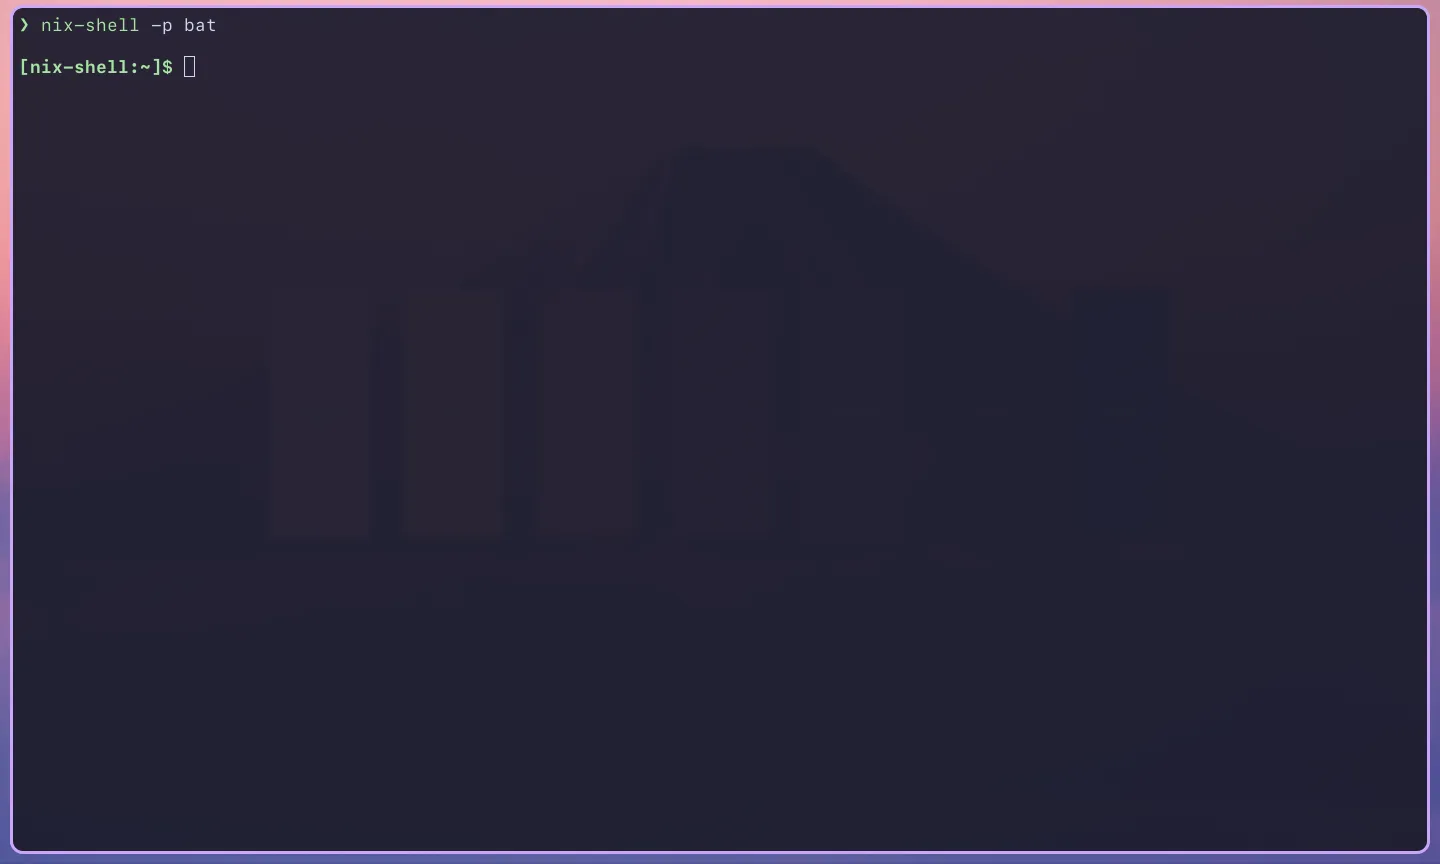
Ghostty is the window you are looking at and the > prompt you can see is the prompt to my zsh shell. That is where I can enter commands to run. Let’s install bat using the following command:
$ nix-shell -p bat
What happens when I run that line? This is an oversimplification, but what happens is that my shell (zsh) reads the input and parses it. It then checks if the input is valid by checking if nix-shell is a valid command and if -p bat is a valid option and value for that option. If it is all valid, the shell will communicate what you wanted with something called the kernel. The kernel will process what you asked for and return an output that your shell can display.
In this case, as I’m using nix-shell -p, it’s actually creating an ephemeral (temporary) shell with bat installed inside the original shell. We can test it by trying to run bat on a file.
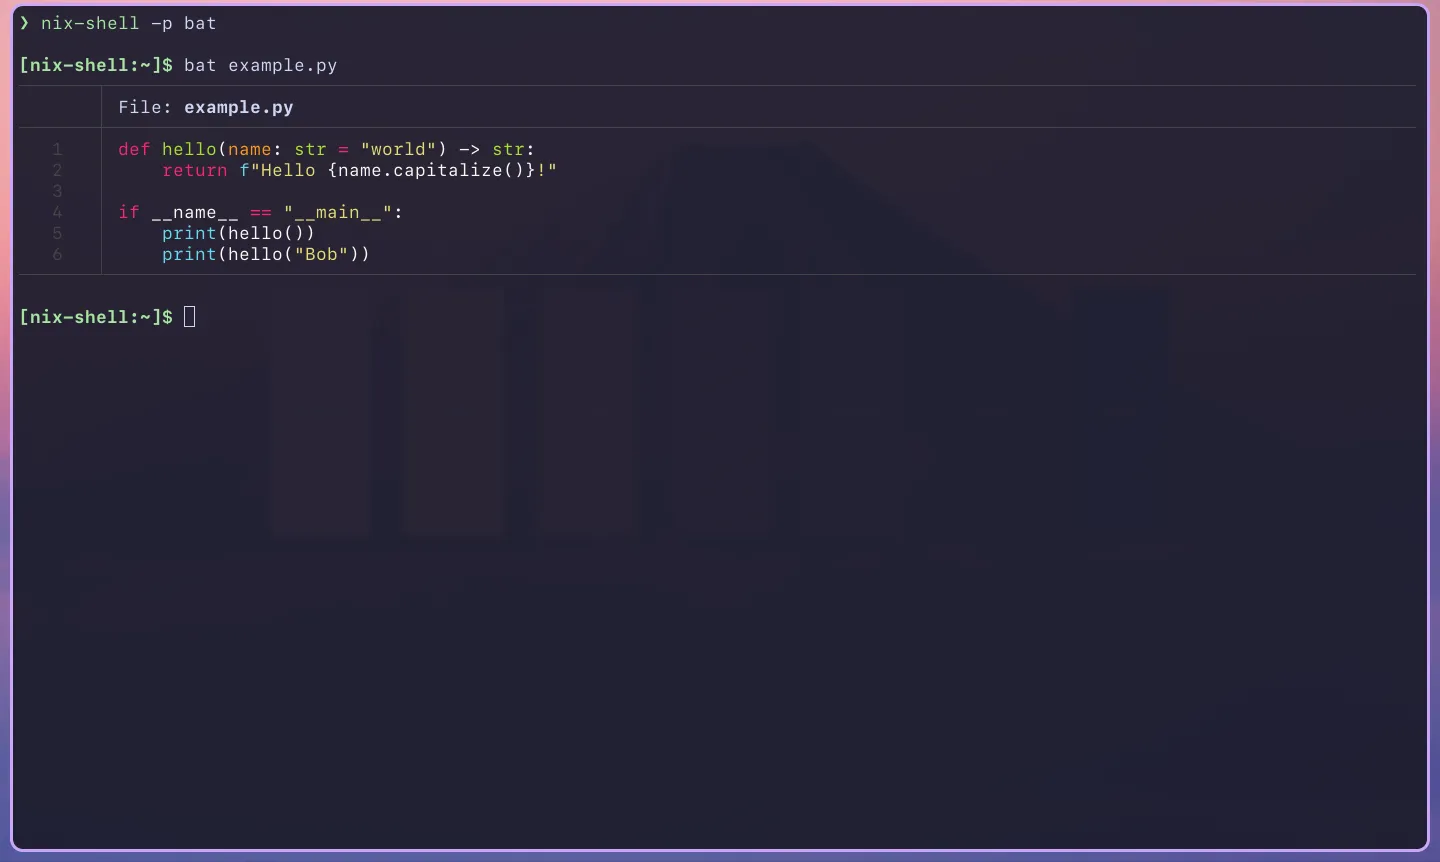
In this case, the ephemeral shell does the parsing, validation, and communication with the kernel to run bat on the file that exists on the system. A cool thing about using nix-shell for ephemeral shells is that when you exit that shell, the programs won’t be accessible with your original shell.
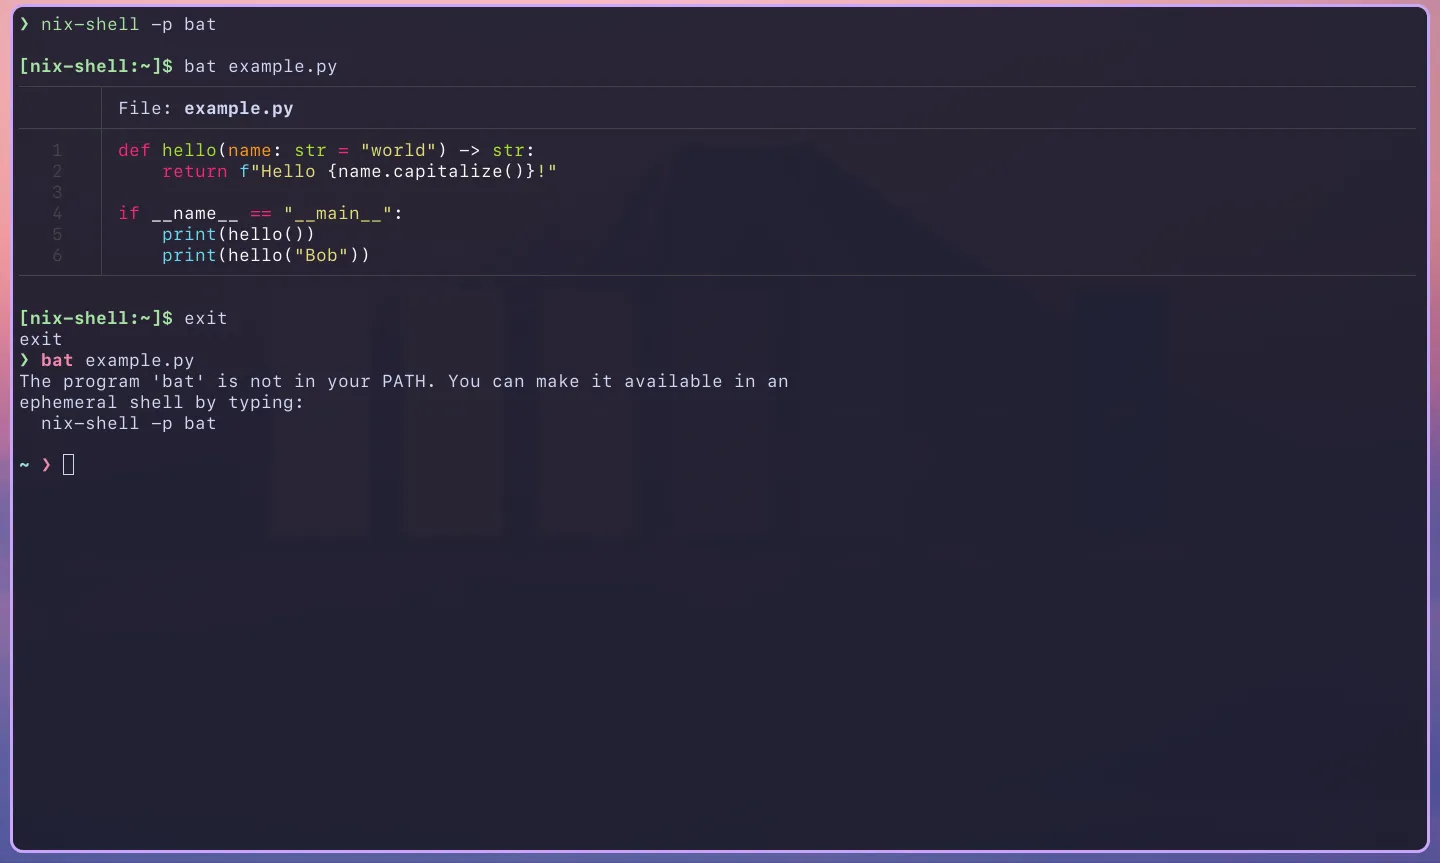
That means you can try or use programs without having it permanently bloating your user space. Handy isn’t it?
The Advantages of Using Nix for Dev Environments
Why did I show the use of Nix’s ephemeral shell? Well, that’s because it’s the basis of the development environments I’m introducing today. You can have an ephemeral shell with a set of packages for one project and another ephemeral shell with a different set of packages without the two conflicting.
Another advantage you get is due to the reproducibility that is intrinsic to how Nix works when using flakes. You can create a flake.nix (and corresponding flake.lock) file, then share that to other members of your project through something like a GitHub repository. They can then use that to completely reproduce the development environment. Why is that useful? Well, it means that every member of the team has full confidence that the packages they’re using to develop the software is the same as everyone else’s. No more missing packages or differing versions.
Overall, using Nix significantly reduces the hassle of coordinating each member’s development environment and provides assurance that everyone’s environment is correct.
Real World Example Of Using Nix For Dev Environments
Bellroy, an Australian company that makes and sells bags, wallets, and other accessories, uses Nix for their development environments. They use Nix for their development environments to ensure that they are reproducible across different team members’ development machines. One nice perk they found was that by distributing the instructions to build development environments using a shell.nix file (more on this in the next section), it was
a great way to get started because it doesn’t ask developers to radically change their workflows, and allows them to trial Nix at their own pace.
By introducing Nix to developers using Nix development environments, it allows the adoption of Nix (which has a reputation for being complicated) at a company much easier.
You can find out more about how Bellroy uses Nix in their post here.
Basic Nix Dev Shell
Shell.nix Approach
Let’s start with creating a basic development environment using a shell.nix file. First, create the shell.nix file, preferably in your project directory.
$ touch shell.nix
After opening it up with your preferred text editor, add the following code to the file:
{
  pkgs ? import <nixpkgs> { },
}:
pkgs.mkShell {

}
The first part of the code is a function that either takes in a version of pkgs as input, or it uses your system (or user) nixpkgs. The second part (after the :) is another function called mkShell that is returned from pkgs from the first function.
TIP
If that’s confusing, don’t worry, we’ll move onto an easier to understand method of implementing development environments soon.
Next, you’ll probably want to add packages that your environment will use. This can easily be done by adding packages into mkShell.
Say we want to make a Python environment with numpy and pandas, and the bat CLI tool. We’d do something like the following:
{
  pkgs ? import <nixpkgs> { },
}:
pkgs.mkShell {
  packages = with pkgs; [
    bat
    (python3.withPackages (
      ps: with ps; [
        numpy
        pandas
      ]
    ))
  ];
}
We can also run commands when we enter the shell by using shellHook:
{
  pkgs ? import <nixpkgs> { },
}:
pkgs.mkShell {
  packages = with pkgs; [
    bat
    (python3.withPackages (
      ps: with ps; [
        numpy
        pandas
      ]
    ))
  ];

  shellHook = ''
    bat --decorations never README.md
  '';
}
In this case, we’re using the shell’s bat to print out the readme with some nice colours.
You can also add environment variables by adding key-value pairs. For instance, an environment variable to indicate we’re in a development environment variable and not production:
{
  pkgs ? import <nixpkgs> { },
}:
pkgs.mkShell {
  packages = with pkgs; [
    bat
    (python3.withPackages (
      ps: with ps; [
        numpy
        pandas
      ]
    ))
  ];

  shellHook = ''
    bat --decorations never README.md
  '';

  ENV = "DEV";
}
NOTE
The key must not be an option of mkShell otherwise it’ll be parsed as one and may cause issues.
We now have a simple development environment set up. Let’s try it out by using running the following command:
$ nix-shell
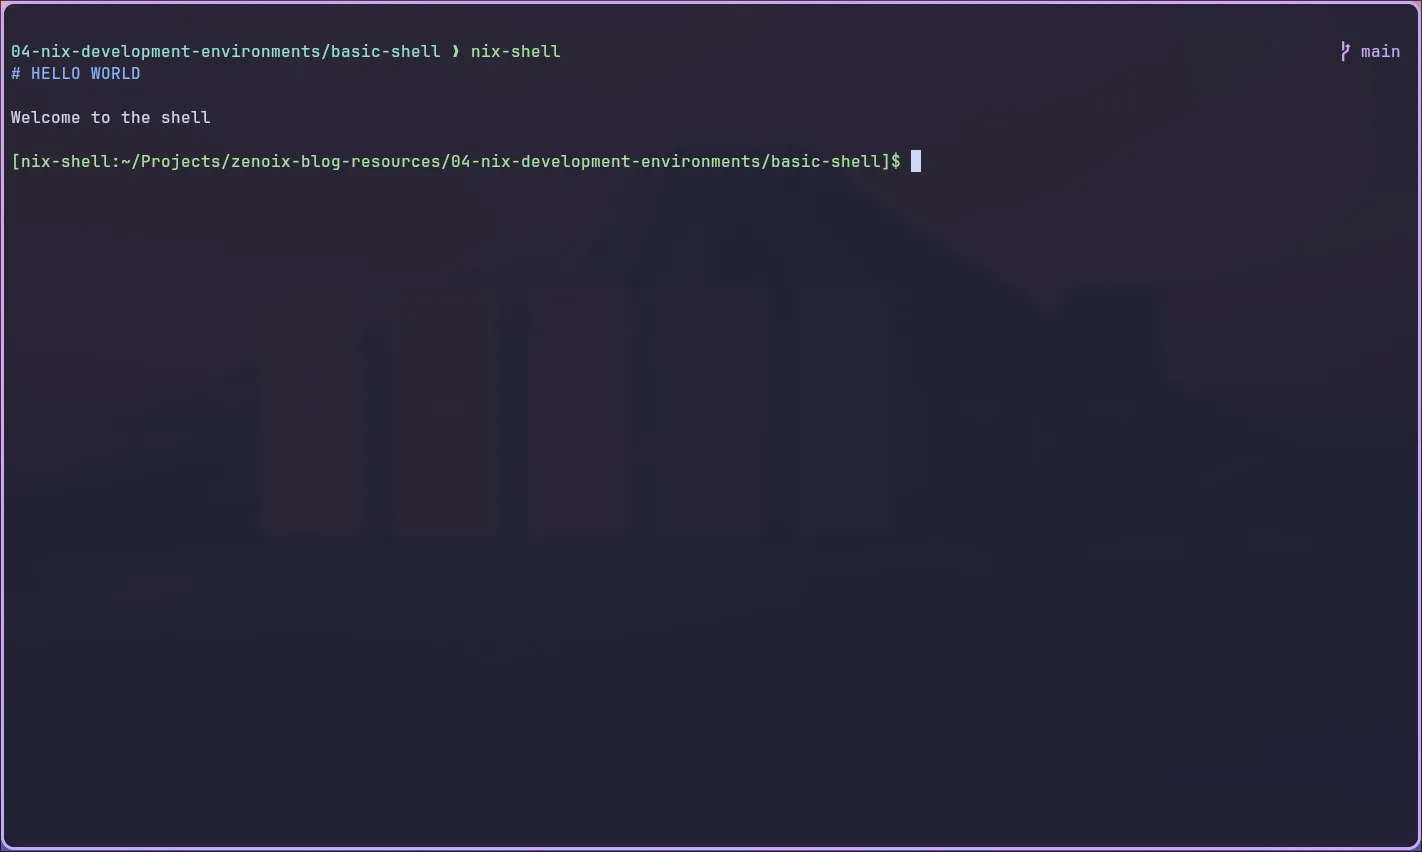
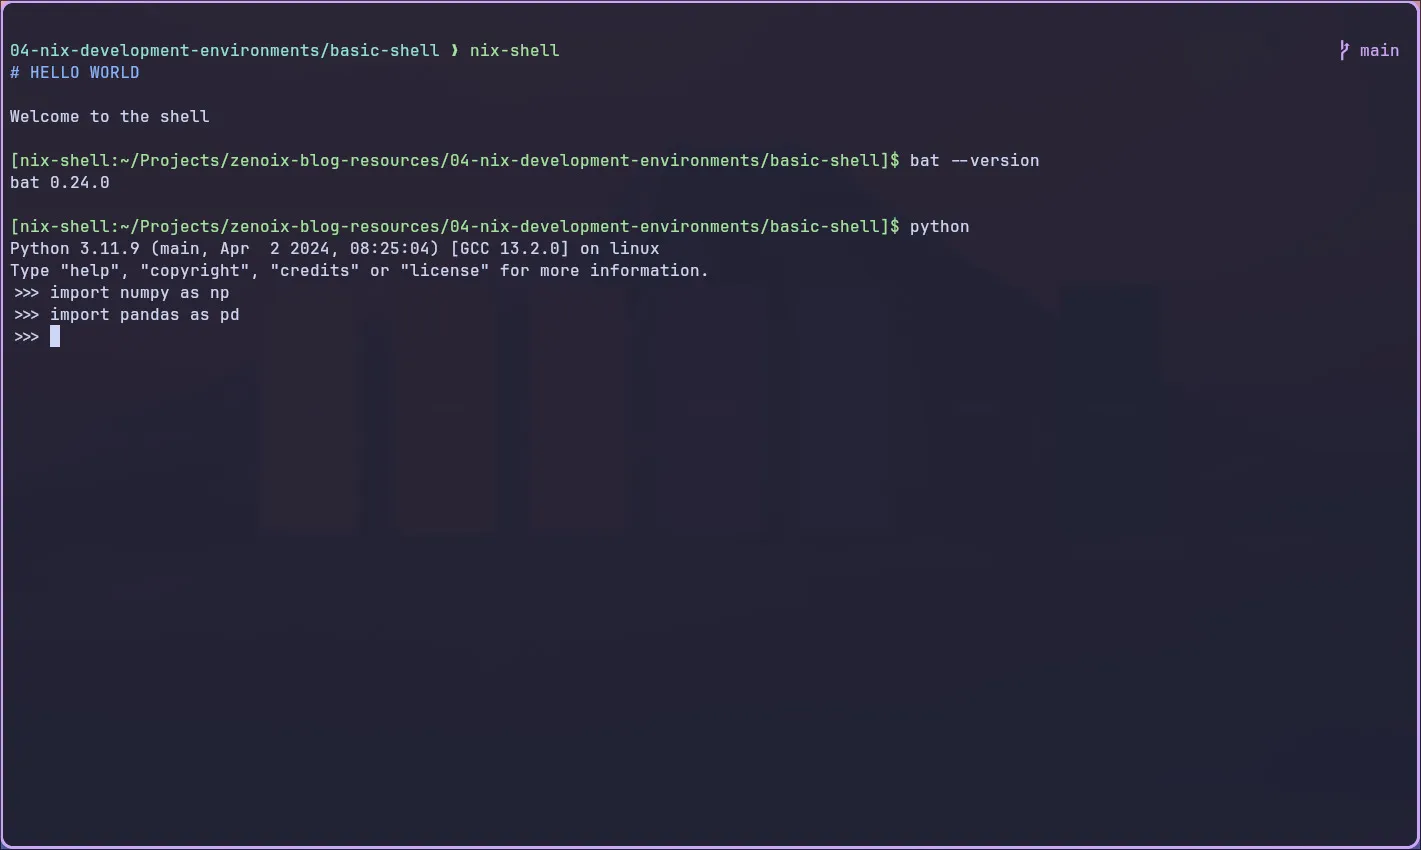
We see that the readme file got “batted” out with a nice coloured heading. Our packages are also all here:
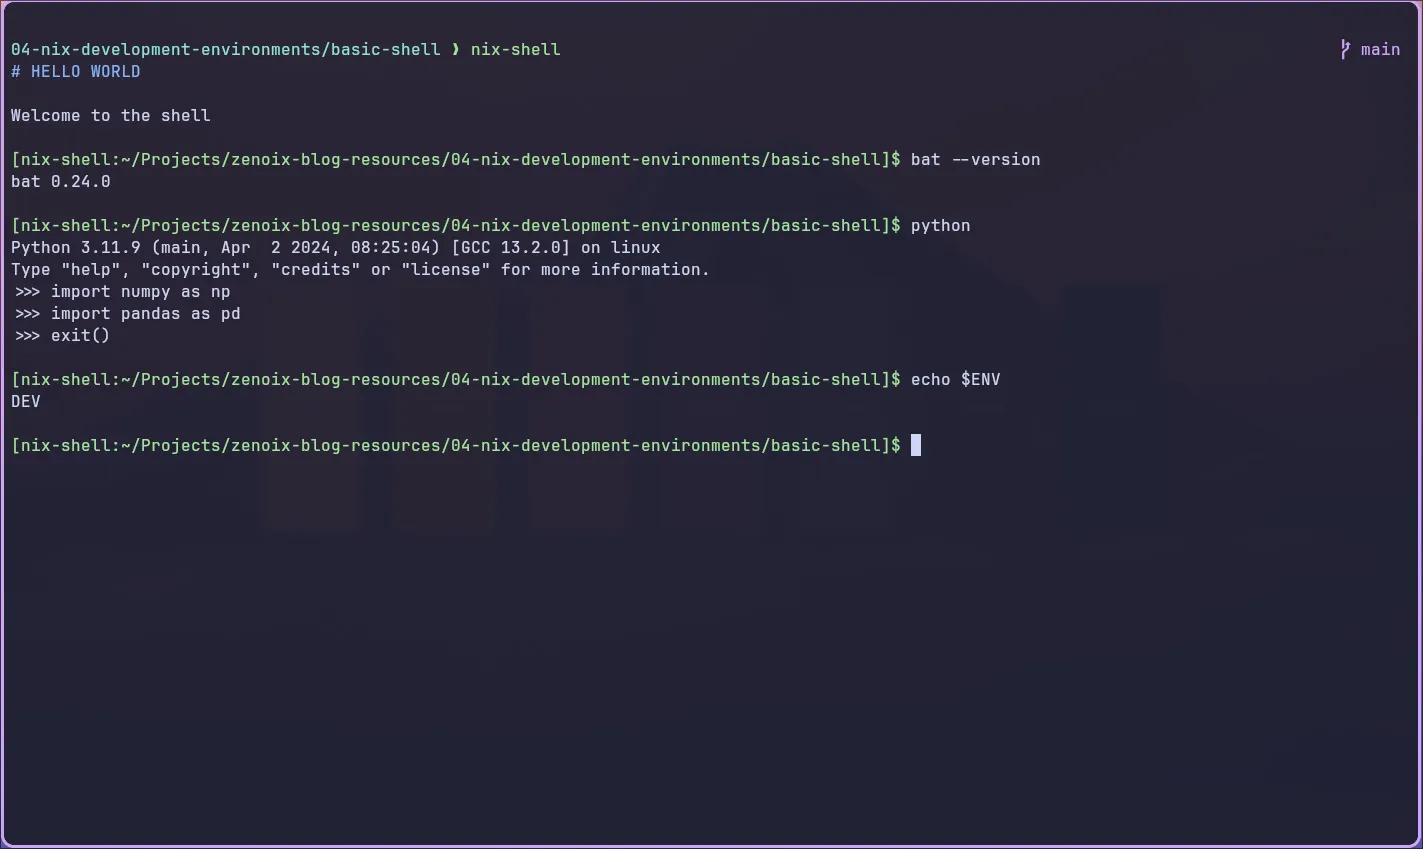
And the ENV environment variable is set:
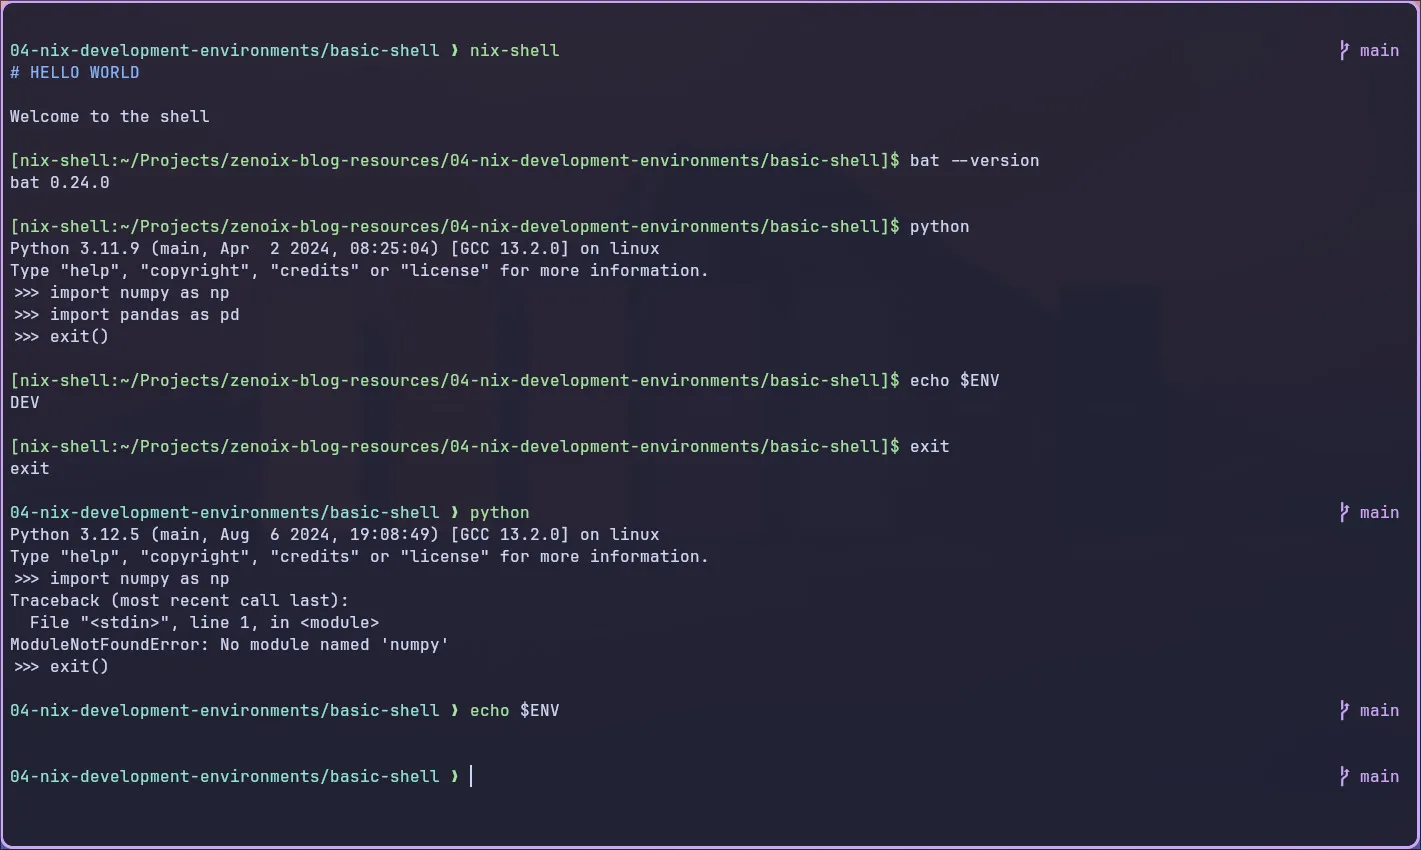
If we leave the shell with exit, we see that we lose what we’ve set in the shell.nix file:
That was pretty easy wasn’t it?
Flakes Approach
Let’s improve how we create, use, and share development environments by using Nix flakes.
TIP
Flakes bring a lot of benefits when it comes to development environments. A major one is making pinning of dependencies much easier by using a flake.lock.
To go from the shell.nix we created earlier, it’s quite easy. Here’s a reminder of what the shell.nix file looked like:
# shell.nix

{
  pkgs ? import <nixpkgs> { },
}:
pkgs.mkShell {
  packages = with pkgs; [
    bat
    (python3.withPackages (
      ps: with ps; [
        numpy
        pandas
      ]
    ))
  ];

  shellHook = ''
    bat --decorations never README.md
  '';

  ENV = "DEV";
}
For we need to create a flake.nix in the project directory (for example, by using touch flake.nix). We can then start building out flake.nix file.
Let’s start with an empty flake:
# flake.nix

{

}
To this, let’s add a description for the flake. In this case, I’ll use “Python project development environment flake”:
{
  description = "Python project development environment flake";
}
Next, we’ll add the inputs to the flake. The important one is where to get the Nix packages from (similar to the pkgs ? import <nixpkgs> { } line from before). However, this time we’ll also add systems which will be used to make sure we can distribute this flake to different kinds of system architectures (like x86_64-linux and aarch64-darwin) easily.
{
  description = "Python project development environment flake";

  inputs = {
    nixpkgs.url = "github:nixos/nixpkgs/nixos-unstable";
    systems.url = "github:nix-systems/default";
  };
};
The last section of the flake are the outputs. First, we grab inputs as the inputs of the outputs function. These are self, nixpkgs, and system as so:
{
  description = "Python project development environment flake";

  inputs = {
    nixpkgs.url = "github:nixos/nixpkgs/nixos-unstable";
    systems.url = "github:nix-systems/default";
  };

  outputs =
    {
      self,
      nixpkgs,
      systems,
    }:

};
We’ll then use set up the boilerplate for the development environments for every system architecture:
{
  description = "Python project development environment flake";

  inputs = {
    nixpkgs.url = "github:nixos/nixpkgs/nixos-unstable";
    systems.url = "github:nix-systems/default";
  };

  outputs =
    {
      self,
      nixpkgs,
      systems,
    }:
    let
      forEachSystem = nixpkgs.lib.genAttrs (import systems);
    in
    {
      devShells = forEachSystem (
        system:
        let
          pkgs = nixpkgs.legacyPackages.${system};
        in
        {
		  default = ...
        }
      );
};
What did we just add? You can pretty much think of what we just added as looping over each system and setting the default development shell and pkgs value based on the system.
The last thing to do is actually design the shell as we did in the shell.nix file. This stage is easy. Just grab the pkgs.mkShell function and its body and place it after default = :
{
  description = "Python project development environment flake";

  inputs = {
    nixpkgs.url = "github:nixos/nixpkgs/nixos-unstable";
    systems.url = "github:nix-systems/default";
  };

  outputs =
    {
      self,
      nixpkgs,
      systems,
    }:
    let
      forEachSystem = nixpkgs.lib.genAttrs (import systems);
    in
    {
      devShells = forEachSystem (
        system:
        let
          pkgs = nixpkgs.legacyPackages.${system};
        in
        {
          default = pkgs.mkShell {
            packages = with pkgs; [
              bat
              (python3.withPackages (
                ps: with ps; [
                  numpy
                  pandas
                ]
              ))
            ];

            shellHook = ''
              bat --decorations never README.md
            '';

            ENV = "DEV";
          };
        }
      );
    };
}
We’re now done with the development environment! To activate it, we use a different command:
$ nix develop
We then get the exact same shell as we did using shell.nix, but with the benefits of using flakes. You can now share the flake.nix and flake.lock files to your team and have the confidence that everyone will have the same development environment.
Easier Dev Environments with Devbox and Direnv
Devbox
Now, I completely understand why people might not want to install Nix onto their machines or touch Nix code (it can be kind of gross). Luckily, we can get the benefits of reproducible development environments without needing to install Nix or write Nix code directly.
We can do this using Devbox which handles the setting up of development environments for you. It uses Nix behind the scenes so you can still get the benefits that Nix brings.
First you’ll want to install Devbox onto your system. If you’re using Nix, you can easily install it by adding pkgs.devbox to your configuration. Otherwise, follow the instruction listed in the Devbox installation guide.
NOTE
Devbox has a lot of features, therefore I’ll only be showing you the basics for setting up a project. For more information, have a read of Devbox’s documentation.
Let’s create a new directory for our project and initialise Devbox by running the following commands:
$ mkdir devbox-demo && cd devbox-demo
$ devbox init
You should then see a devbox.json file appear in your project directory. Having a look at that json file, we see the following:
{
  "$schema": "https://raw.githubusercontent.com/jetify-com/devbox/0.13.6/.schema/devbox.schema.json",
  "packages": [],
  "shell": {
    "init_hook": ["echo 'Welcome to devbox!' > /dev/null"],
    "scripts": {
      "test": ["echo \"Error: no test specified\" && exit 1"]
    }
  }
}
That should be easy enough to understand: packages are the packages of the development environment, init_hook are commands that are run when the development environment is activated, and scripts are custom scripts/commands you can add to the development environment’s shell.
Let’s recreate the development environment from the flakes approach.
Adding Packages
There are two main ways to install packages with devbox. The first is by adding them to the packages section of devbox.json. For example, installing bat is as simple as adding "bat@latest" to packages.
{
  "$schema": "https://raw.githubusercontent.com/jetify-com/devbox/0.13.6/.schema/devbox.schema.json",
  "packages": ["bat@latest"],
  "shell": {
    "init_hook": ["echo 'Welcome to devbox!' > /dev/null"],
    "scripts": {
      "test": ["echo \"Error: no test specified\" && exit 1"]
    }
  }
}
The second way to install packages is to use the devbox command line interface through the devbox add command. I’ll show you how to install Python 3, numpy, and pandas with the command line interface. It’s also seems like a good time to show how to install specific versions of something. You may have noticed that for bat, I appended @latest. This tells devbox to find the latest version of bat that it can. We’ll use this to install Python 3.12 by appending @3.12 to the end:
$ devbox add [email protected] python312Packages.pandas python312Packages.numpy
This installs Python 3.12 in addition to latest pandas and numpy for that Python version.
NOTE
If you do not state a version, devbox will assume you want the latest version available.
TIP
You can find all available devbox packages and versions by visiting www.nixhub.io or by running the devbox search <package_name> command.
{
  "$schema": "https://raw.githubusercontent.com/jetify-com/devbox/0.13.6-c0331c7/.schema/devbox.schema.json",
  "packages": [
    "bat@latest",
    "[email protected]",
    "python312Packages.pandas@latest",
    "python312Packages.numpy@latest"
  ],
  "shell": {
    "init_hook": ["echo 'Welcome to devbox!' > /dev/null"],
    "scripts": {
      "test": ["echo \"Error: no test specified\" && exit 1"]
    }
  }
}
Boom! We’ve now got bat, Python 3.12, pandas, and numpy added to our devbox environment.
Shell Hook
Next, we add our shell hook. Previously we did bat --decorations never README.md so let’s use the same one. Adding shell hooks is as easy as adding the command to the init_hook list in the shell section of the devbox json:
{
  "$schema": "https://raw.githubusercontent.com/jetify-com/devbox/0.13.6-c0331c7/.schema/devbox.schema.json",
  "packages": [
    "bat@latest",
    "[email protected]",
    "python312Packages.pandas@latest",
    "python312Packages.numpy@latest"
  ],
  "shell": {
    "init_hook": ["bat --decorations never README.md"],
    "scripts": {
      "test": ["echo \"Error: no test specified\" && exit 1"]
    }
  }
}
That’s it! Now every time we enter the development environment, we get bat printing out our readme file.
Environment Variables
Environment variables are also easy to add. First we creating a new section called env in devbox.json that will hold the environment variables we want to set in our development environment:
{
  "$schema": "https://raw.githubusercontent.com/jetify-com/devbox/0.13.6-c0331c7/.schema/devbox.schema.json",
  "packages": [
    "bat@latest",
    "[email protected]",
    "python312Packages.pandas@latest",
    "python312Packages.numpy@latest"
  ],
  "shell": {
    "init_hook": ["bat --decorations never README.md"],
    "scripts": {
      "test": ["echo \"Error: no test specified\" && exit 1"]
    }
  },
  "env": {}
}
To that, we add the environment variables as key-value pairs in the mapping:
  "env": {
    "ENV": "DEV"
  }
We’ve now set the environment variable ENV to "DEV".
TIP
You can also source environment variables from a file like a .env file. To do so, add a new section to your devbox.json as follows:
{
   "env_from": "path/to/.env"
}
Activating the Development Environment
Our devbox environment is now complete. Activating and using it is as simple as running the following command:
$ devbox shell
NOTE
The first time activating your shell may take a bit of time as it’s installing and linking the packages you set. After the first time, entering the shell should take significantly less time (unless you edit packages in the devbox json).
You should now be in the new development environment. You can test it by trying any of the things we added to the environment. For example, running echo $ENV should return DEV. You may also notice that devbox has created a Python virtual environment for us. How convenient!
[!info] The other programs, aliases, configurations, etc. of your shell should still be available unless you’ve overridden them with your devbox configuration.
To exit the shell, all you need to do is run the exit command.
Sharing the Development Environment
After activating your devbox environment for the first time, you should notice that you have a new file called devbox.lock. This file should be shared (in addition to devbox.json) if you want others to reproduce your development environment (e.g. in a GitHub repo).
Incorporating Direnv in the Devbox Environment
You might find the idea of running devbox shell every time you want to enter your development environment a bit tedious (I know I do). Luckily, devbox can be integrated with direnv which can automatically activate your devbox environment whenever you enter the directory.
We first start by generating a .envrc file using the following command:
$ devbox generate direnv
If you have direnv installed (through Nix or some other means), you should notice that your devbox environment gets automatically activated whenever you change into your project directory.
Time to Wrap Up!
I’ve only introduced a little bit of what can be done with Nix shells and devbox. I’d encourage everyone to do a little bit more exploring into how Nix and devbox could help you with your development workflows. If you’re struggling for ideas, I would recommend looking into using devbox shell scripts or using devbox in CI/CD pipelines.
Anyways, we’ve covered a lot today. Hopefully you’ve learnt what a shell is, why having separate development environments is so useful, and some tools to make development environment managing a little bit easier and reproducible. Thanks for reading this little post by someone who wants to make development more fun for everyone.